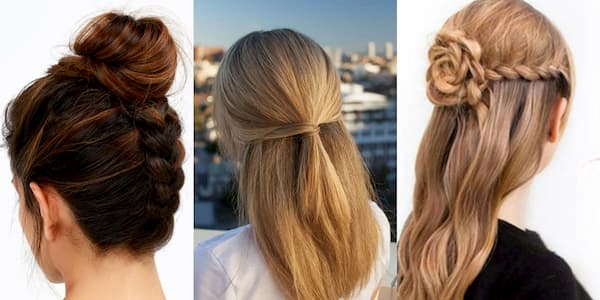
DIY haircut styles are really exciting.
Haircutting is an art. There is nothing technical in Do-It-Yourself haircut styles. If you are looking for a circle haircut strategy then this article is the best thing to read.
While designing a haircut, you should take care of many parameters. Not just creativity and technique, you should consider safety and health aspects too.
You should strike a balance between need and style to suit individual requirements. Just follow these step by step instructions and you will achieve the circle haircut within no time.
Contents
DIY Circle Haircut Style – Simple Strategy
The first thing in DIY circle haircut is to calculate the length of hair to be trimmed. Make your hair fall on the nose and make a decision on the measurement lengthwise.
Do remember that measurement of wet hair and dry hair is not the same. Surely, it will be lengthy in the case of wet hair. Moreover, it also depends on the nature of the hair.
Most noteworthy, curly hair is supposed to be lengthier than a normal one.
Cut Hair Around the Perimeter of the Head
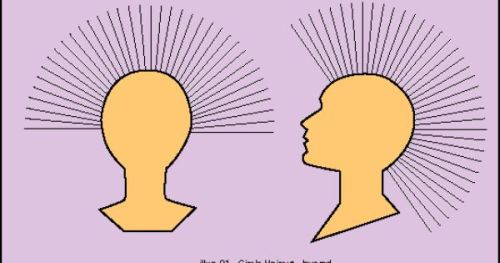
In the first step, you should cut a guide of about one inch wide. Now start cutting around the perimeter of the head using the earlier cut as a guide.
You will have to hold the hair with light tension and go on cutting along the hairline.
Start from the front and cut towards the side and stop when you reach one ear. Repeat the process, this time, moving towards the other ear side from the front.
Make a Decision on the Length of the Hair
Then in the next step, you should move to the back of the head. From the centre of this section, you should make a decision on regarding how lengthy you desire to keep the hair and then start cutting it using light tension.
Do not use any elevation during the process and cut the hair keeping it straight down.
In this way cut along the perimeter of the hair. Cut from the centre back to one side of the ear and stop there. Then again start from the same point at the back and move towards the other side of the head and stop at the ear.
Remember you have already left the cutting from the front at the two ear points. Now join the cutting line from the back and front and make one single continuous line.
Cut Hair Towards the Other Side
Later on, you should select the hair of the right and left nape section, comb them and then again start from the back and proceed to cut towards one of the sides of the head. Then finish cutting towards the other side.
Use the hair cut at the bottom of these section as a guideline. Take a slice of hair that includes a part of the hair cut before, hold it at a vertical angle and cut it and again take another slice of hair and do the same.
How To Cut Hair In Half Moon And Rectangle Bangs?
Think of a half moon or crescent shape! It is simply irresistible!!
Want to know how to cut hair in half moon and rectangle bangs? Then this article dealing with the DIY haircut is exclusively for you.
Before knowing the various techniques, you should be aware of the pros and cons of hairstyling.
Customize To Suit Your Face
When we visit salons we want to have a hair cut that suits our face and like to have customized service.
Many times you might think that little adjustments in haircut would enhance your look and you give instructions to the person cutting your hair to do so.
In reality, most of the time you feel that those hair cutting instructions would have been carried out better if you had the scissors in your hand. Yes, cutting your own hair is not a thought anymore.
First, you should check whether the new haircut styling is apt for one’s face or not.
After confirmation, you should proceed with great attention. You should always damp your hair before cutting. Keep these in mind when you are starting to cut the hair.
Half Moon or Crescent Shape
Think of a half-moon or crescent shape! This is a fancy style to suit you anytime. Moreover, this hairstyle complements your face shape when curls fall over.
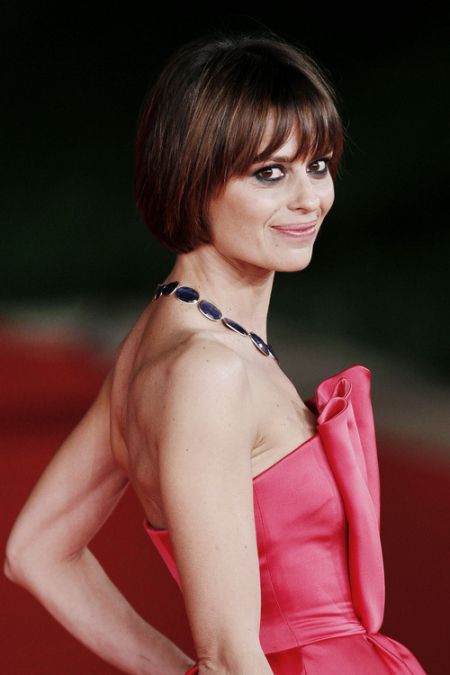
This beautiful shape curves towards the face and is nearly 1 inch deep from the midpoint of the forehead and gradually plugs to the outer limits.
To get this shape, wet the area and comb the hair.
You have to jerk from the middle of the forehead which should be approximately 1 inch rear from the hairline.
Part a slight segment of the hair and comb it straight downward. From the centre of the forehead sculpt the hemispherical shape towards the left and simultaneously to the right.
As soon as the shape is achieved, comb the bangs on the face and set the measurement you need for the bangs.
Cut a small section and use this as a guide to cut the rest of the hair in the area. Now comb the entire hair that falls in the crescent shape area and let it fall onto the face.
Hold it straight and cut it horizontally.
DIY Haircut Style Rectangle Bangs
These shaped bangs are helpful for people who have thin hair density. The steps to be followed are the same as followed for the hemispherical shape bangs.
But in the case of rectangle bangs, carve a rectangular area above the hairline on the forehead.
You have to give more depth to the bangs so take more area for giving the rectangle shape. Comb the bangs after determining the shape and let them fall on the face.
Determine the length of the bangs and cut a small portion to use as a guide. After combing hold it straight and cut horizontally.
How To Cut Back Angled Bob With Long Hair?
Back angled bob with long hair – both hot and popular!
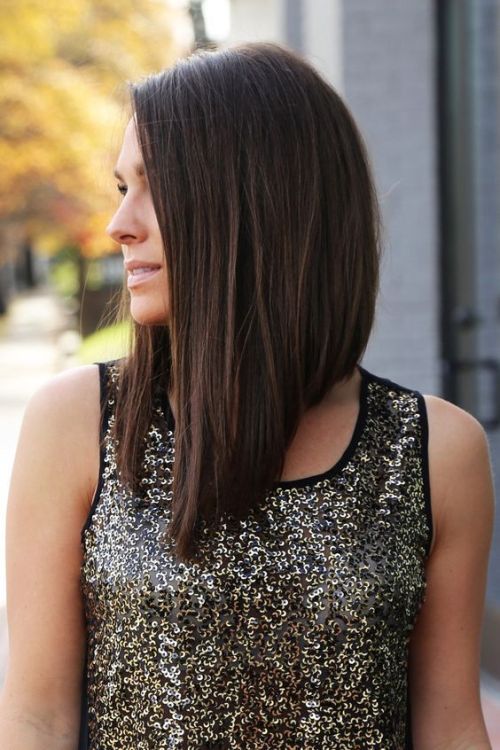
Back angled bob haircut is one of the new versatile DIY haircut styles. It is the most trendy haircut for people with long hair. Back angled bob with long hair can be straight or wavy depending upon the nature of hair.
Those who want to keep their long hair yet want to try something new and versatile, they can try this cut. The person can style the curls as well as carry straight and silky glance.
Step by Step Instructions for Back Angled Bob DIY Haircut Styles
Due to this versatility of style, the back angled bob cut is very popular. The steps of back angled bob haircut are described as below:
- Wet the hair and segregate it from the centre into two divisions leaving one to one and a half-inch of hair section at the rear side in the midpoint.
- Roll your head in any angle you want (the more slanted the top is the sharper the point is at the head flipside). Now take the segment you missed in the centre at the back of the head and comb it.
- Then incise it to the required extent. It is better to use parallel streak to get the look. It is better if you make an effort from the same elevation so that you can make angles and lines at the required spot.
- Continue the hair cutting by taking half inch hair segment on one part of the head. Comb it towards the rear side and slice it using the earlier hair cut line as the guide.
- You can continue cutting in this manner on one part first and then proceed to the other part of work on both sides simultaneously.
A Few More Steps…
- Once both the sides are done, raise the head to a straight upright position and comb all the hair back parting it at the centre.
- You will have to see that the bottom edge of the hair is smooth and even. If there is any unevenness then straighten it.
- Work from back centre to one side of the head and then from the centre to the next side. Then work from the sides to the front of the head creating an even angled line all along the way.
- You can check the beveling of the hair in the back by holding it horizontally and can trim away any uneven lines. Cross-checking can be done using very thin segments of hair so that no unevenness is created.
- After the cut style the hair as you want. Use a smoothing serum on the hair and then blow dry it to get a smooth look.
With the help of a round brush, you can curl the ends inside. The cut gives a straight and professional look and the look can be carried to the office.
To add more volume to the hair you can make large curls using a large curling roller or a large-barreled curling iron. This creates a more casual and relaxed look.
Now I’d Like to Hear From You
Haircutting is an art. And you can enjoy yourself doing it. You can easily cut men’s hair, women’s hair, kids’ hair and your own hair.
I hope this guide showed you DIY haircut styles that you can try with minimal experience.
What’s the #1 DIY haircut styles from this post that you want to try first?
Are you going to cut hair in half moon and rectangle bangs? Or maybe you have a question about something you read.
Either way, let me know by leaving a comment below right now.


